


Getting Started Tutorial of FotoJet Designer for Mac
1. Choose a Template
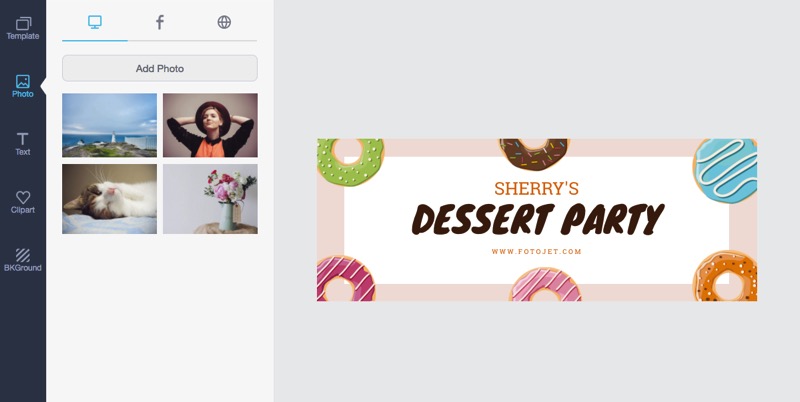
Launch FotoJet Designer, and the template window will appear:

There are 900+ professionally designed templates provided. Simply click to open any category you like. Then choose a favorite template to start or directly use the blank page.
You can filter the templates quickly by using the tags we provided.
Click the Back button on the top banner to return to the template window and then choose other categories you want.
Tip: You can also start a design with custom size. Click the Custom Size button in the upper right of template window, and then choose a preset size to use or input your own dimensions.
2. Add and Adjust Photo
Add Photo
Click Photo tab on the left side bar and then choose to add your favorite photos from computer, Facebook or online.
Choose the computer option and then click Add Photo button to select your own photos from local disk to the photo list.
Choose the Facebook option and then login to your Facebook account to import photos from your Facebook albums to the photo list.
Click  button on each photo to delete the unwanted photo. Click Clear All to delete all the photos you added.
Choose the Internet option and you are able to search through Pixabay’s 580,000+ free images. Type in your search and press Enter to find the related images.
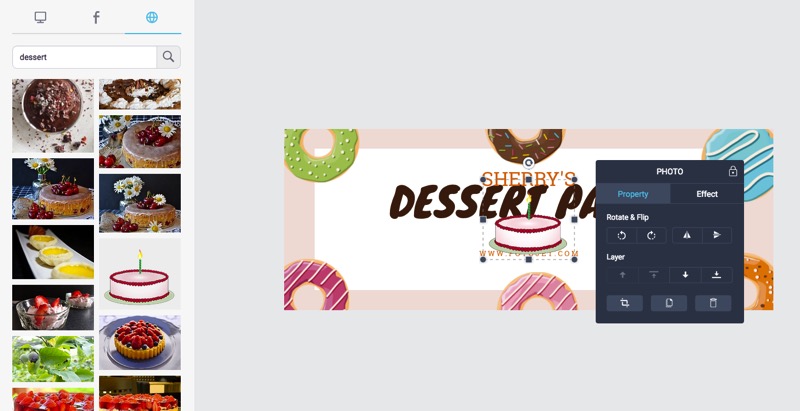
Click or drag any photo to your design quickly.
Adjust Photo
You can move, resize and rotate any photo at will with mouse dragging.
Select a photo and the editing panel will appear:
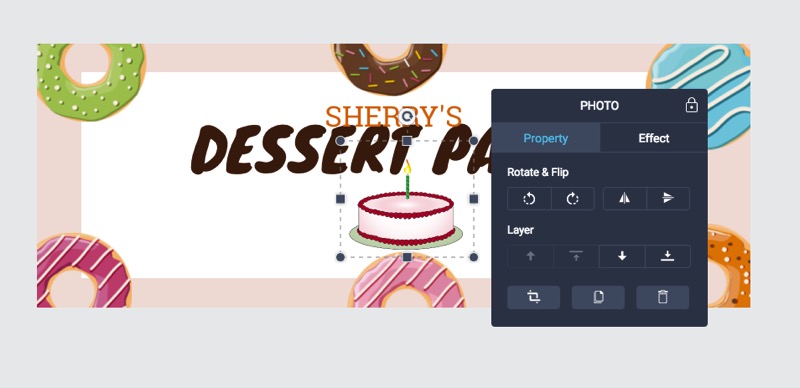
Choose Property option to adjust photo properties easily.
Click  or
or  button to rotate your photo by 90 degrees anti-clockwise or by 90 degrees clockwise.
Click  or
or  button to flip the photo horizontally or vertically.
Click on the appropriate button  to adjust layer for the photo - move it forward, top, backward or bottom at will.
Double click the photo or click  on the editing panel to crop the photo. Drag the slider to zoom in/out on the photo to your satisfaction. Then move the photo with mouse to show the exact part you want. The rest part of the photo will be hidden.
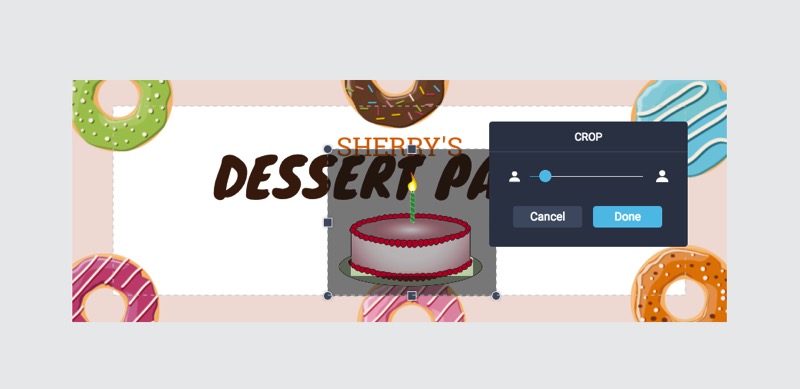
Click Done to finish cropping, or click Cancel to show the original photo you added.
Click  to duplicate the selected photo.
Click  to delete the photo you selected.
Choose Effect option to adjust photo effect. Apply any popular effect to your photo with one click. Click None to remove the photo effect.
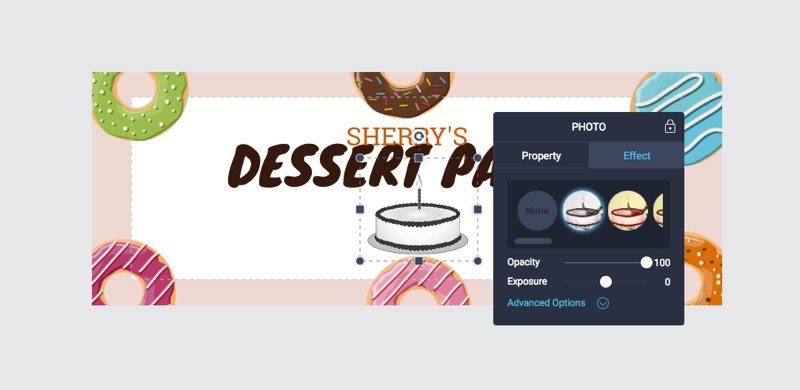
Drag the slider of Opacity and Exposure to adjust the opacity and exposure properties for the photo.
Click Advanced Options to show all the adjustments. Drag each slider to adjust the Brightness, Contrast, Saturation and Hue for the photo at will.
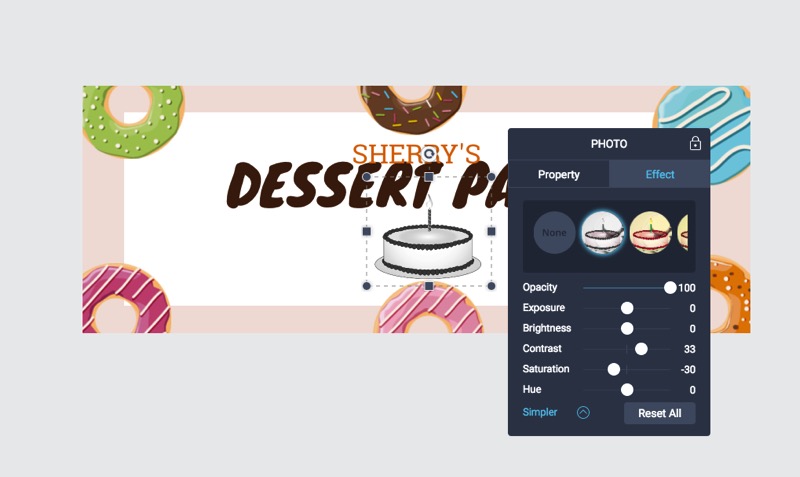
Click Reset All to reset all the color adjustments you made to the photo.
3. Add and Edit Text
Add Text
Click Text tab on the left side bar and then you can freely add text to your design.

There are many preset text styles available. You can directly click and then a new text object will be added to your design.
Edit Text
You can move, resize and rotate any text object at will with mouse dragging.
Double click the text you added or the prewritten text coming with template and you can directly input you own words at will.
Choose the text object you want to edit and then the editing panel will appear:
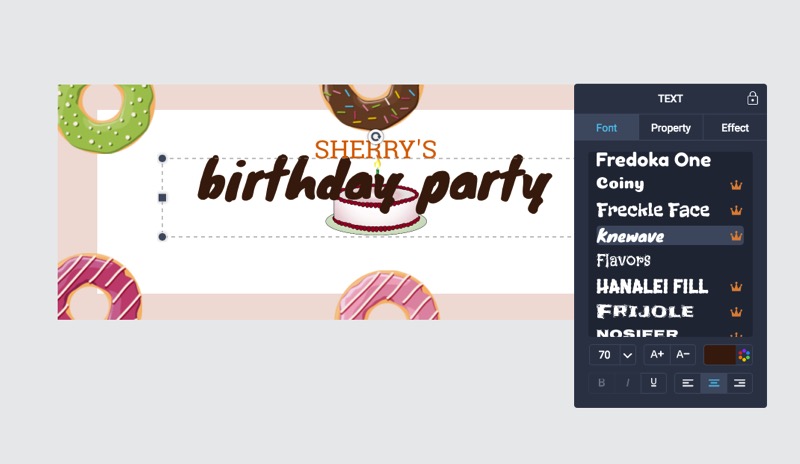
Choose Font option to set text font, size, color, style, etc.
Select a desired text font from the font library. Scroll down to preview all the text fonts.
Directly input the size properties you want for your text or click the size combo box to choose a desired text size.
Click  or
or  to make the text bigger or smaller quickly.
Click  to apply a specific color to your text as needed.
Click on the appropriate button  to quickly set text format as Bold, Italic, and Underline.
Click on the appropriate button  to align your text to Left, Center or Right.
Choose Property option and then adjust layer for text, duplicate or delete text.
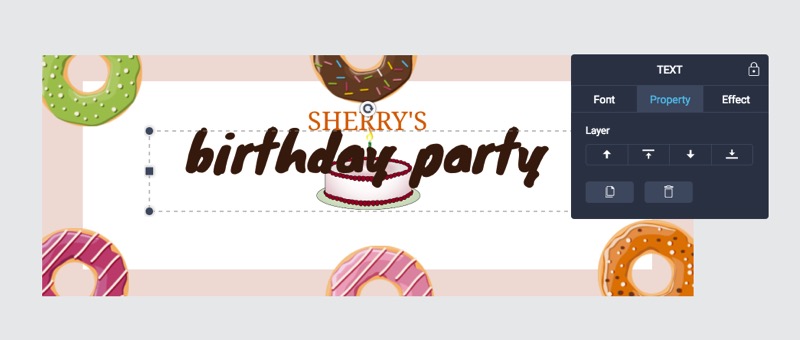
Click on the appropriate button to adjust layer for text - move it forward, top, backward or bottom at will.
Click to duplicate the selected text.
Click to delete the text you selected.
Choose Effect option to set special effect for your text.
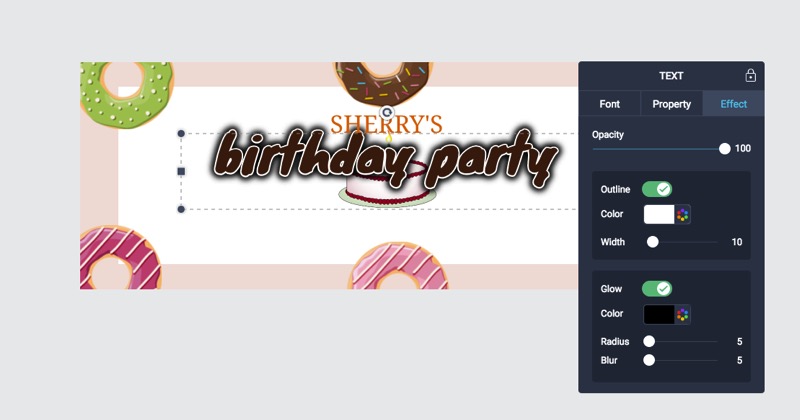
Drag the slider of Opacity to adjust opacity for your text.
Check Outline box and then select a special color. Drag the slider to adjust the Width.
Check Glow box and then select a special color. Drag the slider to adjust the Radius and Blur.
3. Add and Customize Clipart
Add Clipart
Click Clipart tab on the left side bar and then you can choose from our presets to use or search through 93,000+ clipart images online to decorate your design.
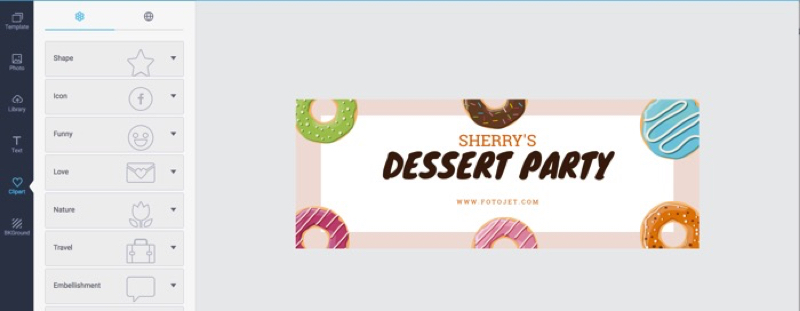
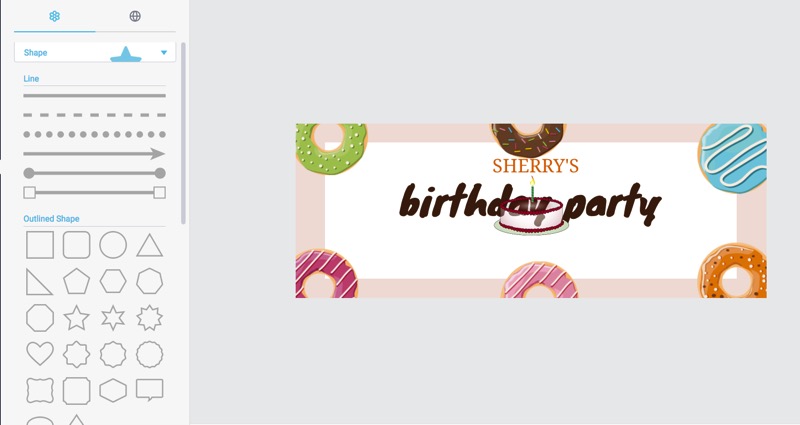
The preset clipart images are arranged into several categories: Shape, Icon, Love, Travel, Embellishment, Celebration, Lifestyle, Nature, Holiday, etc. Choose any category and scroll down to preview all clipart images included in this category. Then click or drag your favorites to the design.
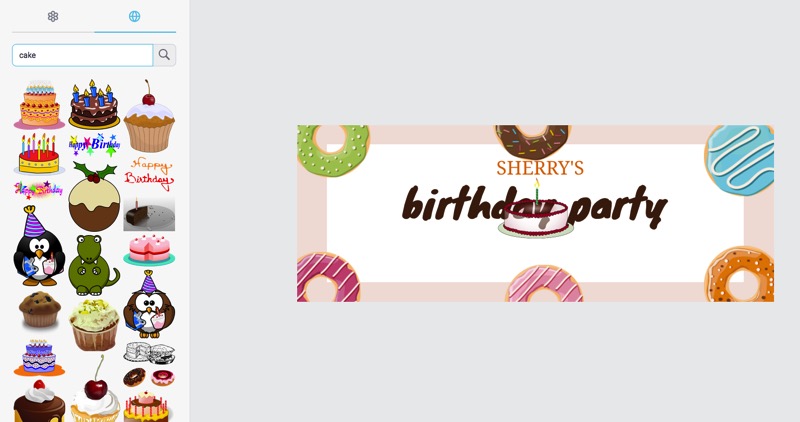
Or choose Internet option and then type in your search and press enter to find the related images. Click or drag the ones you need to your design.
Customize Clipart
You can move, resize and rotate any clipart image at will with mouse dragging.
Select a clipart image and the editing panel will appear:
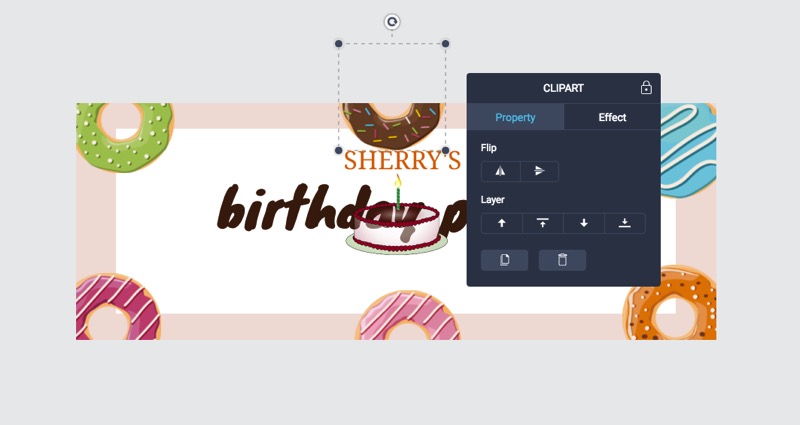
Choose Property option to adjust clipart properties easily.
Click or button to flip the clipart horizontally or vertically.
Click on the appropriate button to adjust layer for clipart - move it forward, top, backward or bottom at will.
Click to duplicate the clipart image.
Click to delete the clipart image you added.
Choose Effect option to adjust effect for the clipart image.
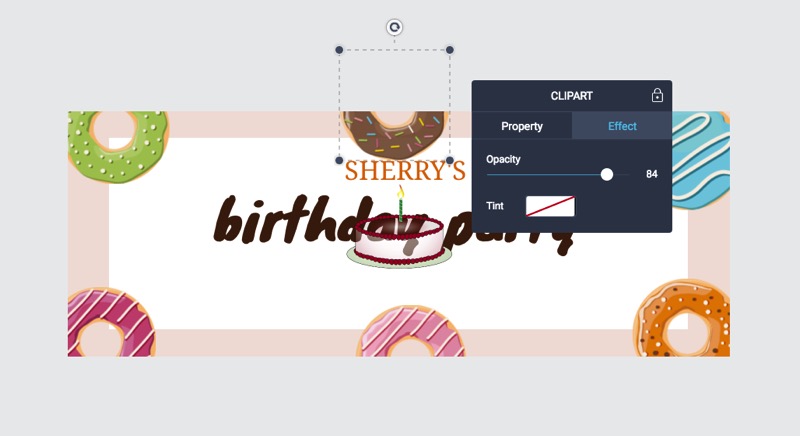
Drag the slider of Opacity to adjust the opacity properties for clipart.
Click  to apply Tint color. On the pop up color picker, pick the color overlay you want for the clipart. Drag the slider of Intensity to adjust the intensity properties for it.
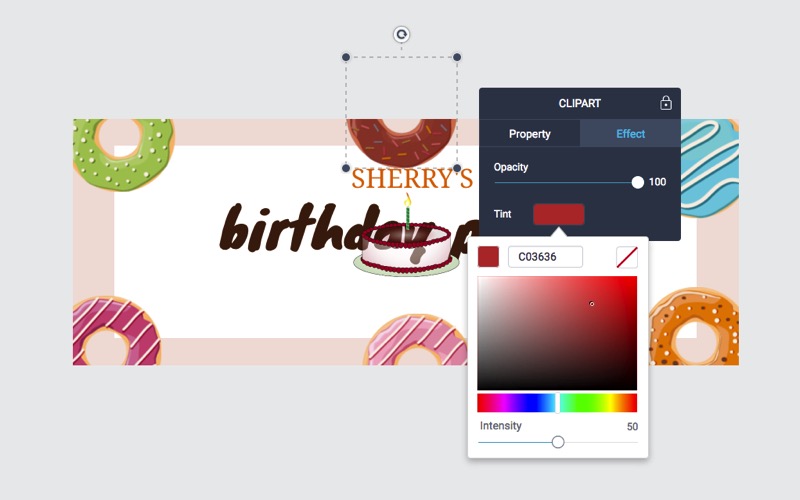
Click  button on the top right corner to restore the original color of your clipart.
5. Set Background
Click BKGround tab on the left side bar and then customize the background for your design.
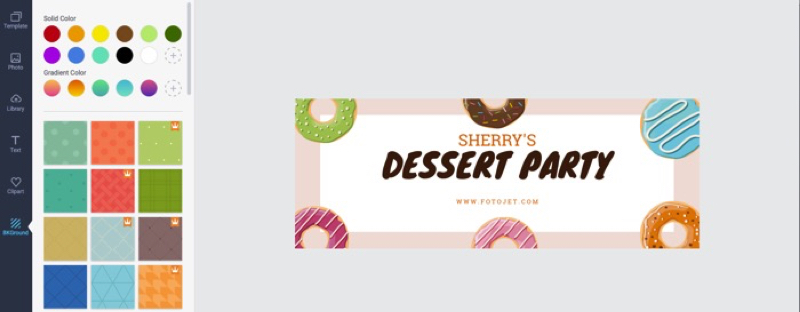
Choose a solid or gradient color you want to fill the background. Click + button to add your own custom color to use. You can simply drag any color to remove it from the list.
Or choose a preset pattern from the pattern list to fill the background and you can preview it instantly.
6. Save or Share
Save
Click Save button on the top banner to save your design.
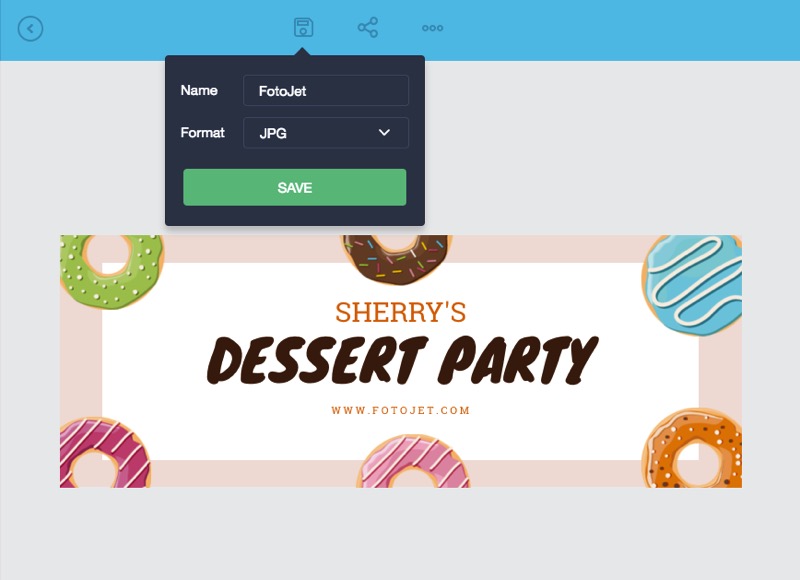
Set the name and choose the output format (JPG or PNG) for your design, then click SAVE.
Or you can click More button (…) on the top banner and then save your design as project, which you can load for further editing.
Share
Click Share button on the top banner to share your design to Facebook, Twitter, Pinterest or Tumblr.
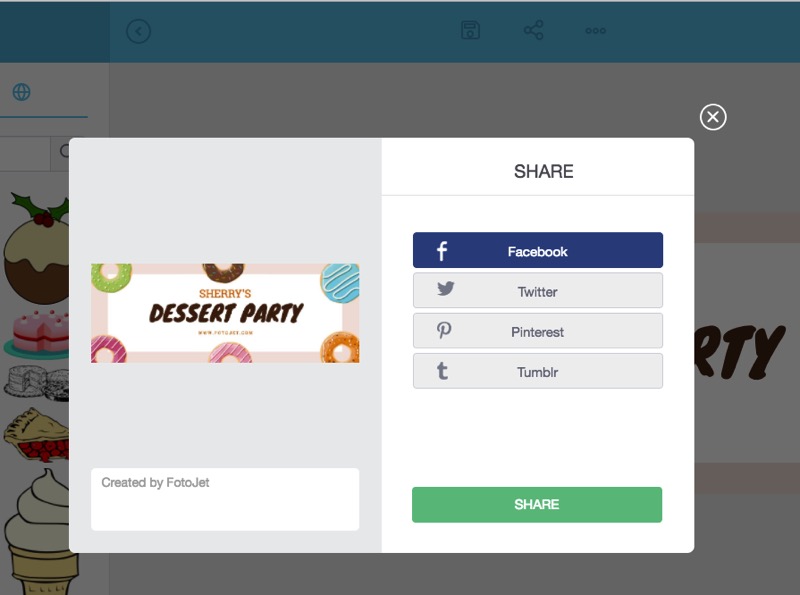
Choose Facebook and login to your Facebook account, then click SHARE to directly share your design to Facebook.
Choose Twitter and login to your Twitter account, then click SHARE to share your design to Twitter.
Choose Pinterest and FotoJet Designer will upload your design to server. After that, click SHARE and login to pin your design to your Pinterest board.
Choose Tumblr and login to your Tumblr account, then click SHARE to share your design to Tumblr.
7. Advanced
Undo/Redo
Click  button at the bottom of canvas or directly press Command - Z to undo the last action you did.
Click  button at the bottom of canvas or directly press Command - Shift - Z to redo the effect of undo action quickly.
Align Object
FotoJet Designer will automatically align the target object both to its adjacent objects and to the entire page when moving.
Tip: Press and hold Alt to disable Auto Snap feature.


 128 Bit SSL Secure Checkout

